Replacing caster wheels on a Stryker stretcher involves a systematic approach to ensure safety and functionality. Here's a step-by-step guide:


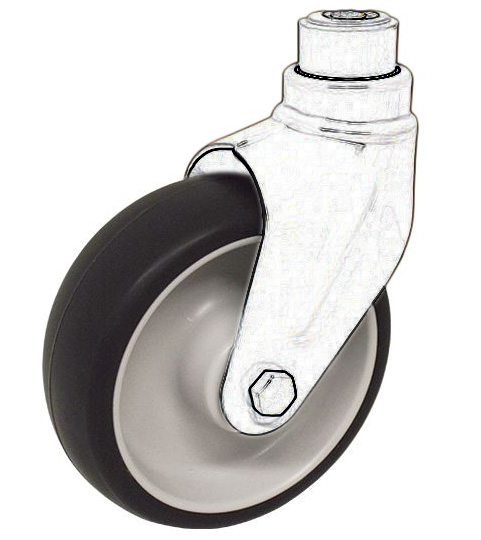
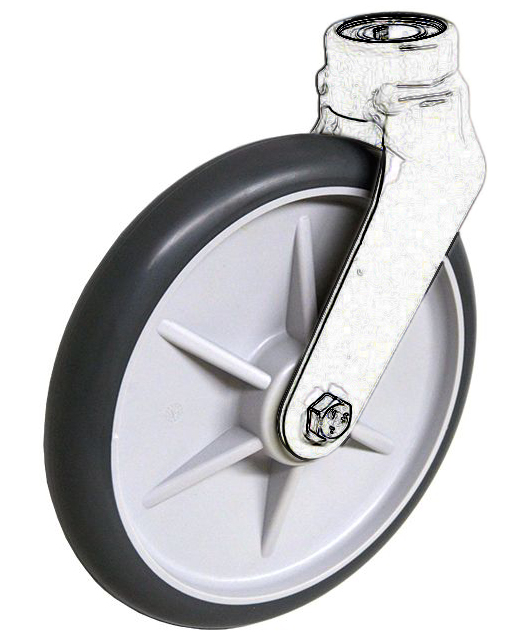
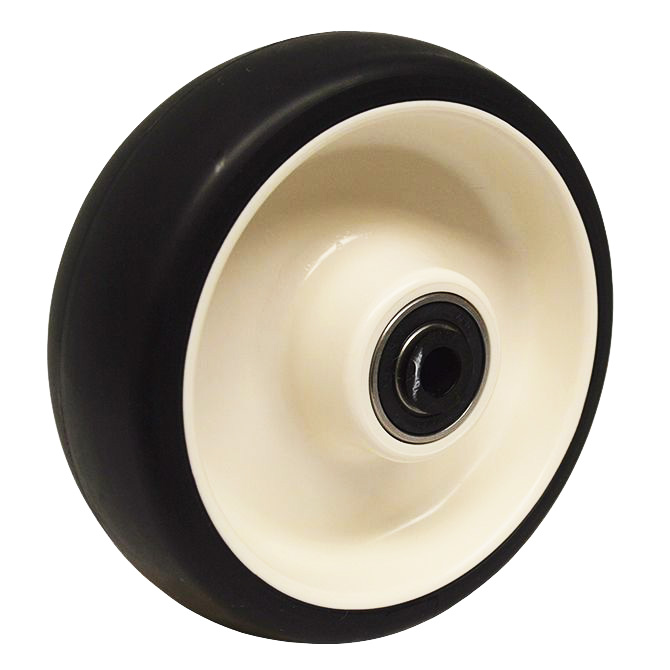
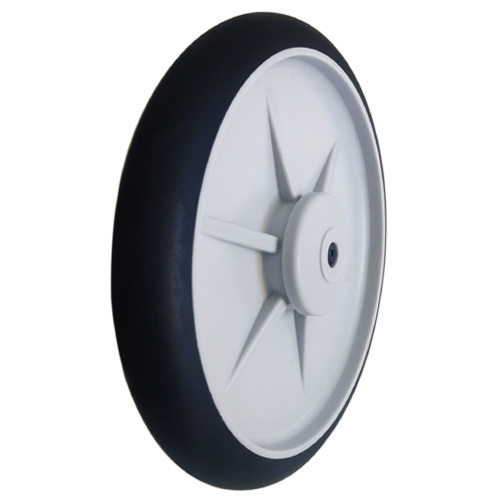
150mm stryker stretcher chair wheels ; 8 inch tryker stretcher wheels
| Wheel size | Materials | Shaft Hole | Hub Height | Load |
| Ø150mm x 50mm | PP core + TPUTread | Ø11mm | 63.5mm | 120 kg |
| Ø200mm x 30.5mm | PP core + TPE Tread | Ø11mm | 50mm | 120 kg |
1.Gather Necessary Tools and Replacement Parts:
* Make sure you have the correct replacement caster wheels that are compatible with your specific Stryker stretcher model. Also, prepare any tools you may need such as wrenches, screwdrivers, and possibly a socket set.
2.Prepare the Work Area:
* Position the stretcher in a stable location where you have enough space to work comfortably around it.
3.Secure the Stretcher:
* Ensure the stretcher is securely locked in place or braced to prevent any movement during the wheel replacement process.
4.Remove the Old Stryker stretcher Wheels:
* Caster wheels are typically attached with a bolt or stem that fits into a socket on the stretcher frame.
* Depending on the type of caster, you may need to unscrew a bolt or use a wrench to detach it from the frame. Some casters might have a locking mechanism that needs to be released first.
5.Install the New Caster Wheels:
* Align the new caster wheel with the mounting socket or hole on the stretcher frame.
* Insert the stem or bolt into the socket and secure it tightly. Use appropriate tools to tighten the bolt securely.
6.Test the Wheels:
* Once all new caster wheels are installed, test each one by gently pushing and pulling the stretcher to ensure smooth movement without any wobbling or instability.
7.Adjustment (if necessary):
* If your stretcher has adjustable caster wheels (e.g., height-adjustable or lockable), ensure they are set according to your preference and operational needs.
8.Final Inspection:
* Double-check all caster wheels to ensure they are securely attached and properly aligned.
* Verify that all locking mechanisms (if applicable) are engaged correctly.
9.Clean Up:
* Dispose of any packaging materials and tools used during the replacement process.
10.Documentation:
* Update any maintenance logs or records to reflect the caster wheel replacement, noting the date and details of the procedure for future reference.
If you encounter any difficulties during the process or if you're unsure about any steps, refer to the stretcher’s manual or contact Stryker’s technical support for assistance. Following these steps should help ensure a successful replacement of the caster wheels on your Stryker stretcher.
We have both 200mm and 150mm stryker stretcher wheels, High quality, Low noise.


If you are interested can contact us:
WeChat/Whatsapp : +0086- 137 3645 4395 ; Email: sales@casterwheelsco.com
Comments
Post a Comment